Many people like to use manicures to accompany their clothes and brighten their mood, but the nails that they have worked so hard on will no longer be beautiful in a few days. Is it because your manicure is not done carefully enough? Let Hanakoko teach you eight nail tips below to make your gel nails last longer!
1. Preliminary work is key
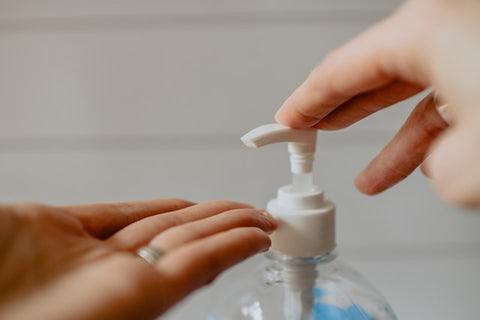
If you want to keep your gel manicure on for a longer time, you must first start with the preparatory work for the nails. Wash your hands with lanolin-free soap and warm water, dry with a towel, and then use a non-fiber cotton pad (no lint) to wipe off the grease and soap residue that can cause the nail polish to peel off.

2. Treat the cuticle on the bottom edge of the nail
Before applying gel nail polish or gel nail stickers, we need to deal with the cuticle on the edge of the nails. If the gel nail polish is applied to the cuticle, the nail polish will flow into the gap between the finger edge and the nail, which will cause the peeling of the nail polish from this position. If gel nail stickers are applied over the cuticle, there will be gaps between the stickers and the nail, which will cause the stickers to peel off or catch hair.
3. Keep the nail surface clean
Before applying any nail product, we must keep the nail surface clean and completely remove the oil and moisture from the nails. Because if there is oil and moisture on the nails, it is not easy to precisely fit the nails when the nail polish is applied, which is also one of the reasons why the nails are easy to peel off.
4. Shake before using gel nail polish
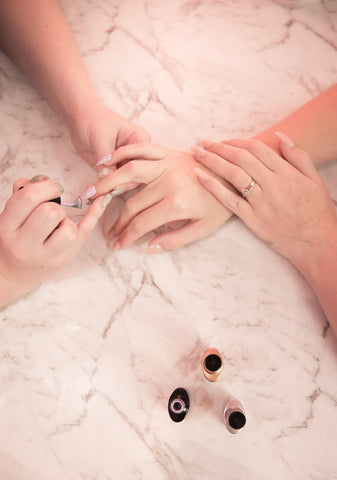
Shake the bottle first to make the nail polish moderately thick, and then use a nail polish brush to get a proper amount of nail polish. Be careful, don't take too much, it will be difficult to master when smearing, and taking too much nail polish at one time will make the colored nails look thick, which is not good. Teach you a little trick, lift the nail polish brush, as long as the nail polish does not drip into the bottle.
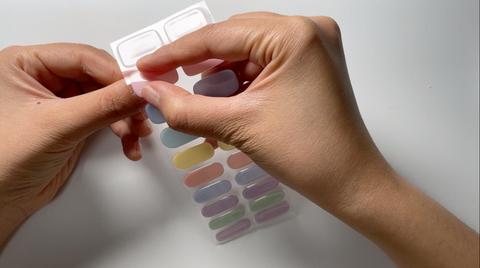
However, if you're using gel nail stickers, such as Hanakoko products, you can skip this step.
5. Apply a thin layer of gel nail polish
When you start to apply nail polish, you must avoid too much and too thick. Once the nail polish dries too slowly, the solvent inside is not easy to evaporate quickly, which will make it mottled and not smooth enough. If you don't like too thin nail polish to show saturated color, then you can apply a few more layers, but make sure that each layer is thin enough to achieve gorgeous colors.
This process can take a while to master. But again, if you're using Hanakoko gel nail stickers, you won't need to worry about this.
6. The nail polish brush is not suitable for hard pressing
When applying nail polish, we should not press the nail polish brush flat and hard on the nails, as this will easily cause the surface of the nail polish to be uneven. The correct application method is to gently stroke the nail polish brush over the nail surface, and then rub it lightly.
7. It is highly recommended to apply top coat
You can apply gel top coat as a finishing touch for your manicure. Three days after the manicure, you can also add another layer of top coat, which adds brightness without softening the manicure and gives it a new look. This is true whether you're using gel nail polish or gel nail stickers.

8. Remediate in a timely manner
Fix it in time when the manicure starts to fall off. It is recommended to lightly rub scratches and cracks with a polishing file, then apply a thin layer of the same nail polish all over the nail. Wait 1-2 minutes for it to light up, then apply a layer of quick-drying varnish on top. This will give your manicure a whole new look.
If some of your gel nail stickers start to fall off, you can easily remove them with a wooden stick and apply new ones from the stickers you have left after the initial application.
Learn more about how to apply Hanakoko semi-cured gel nail stickers. This will make doing gel nails much much easier than using traditional gel nail polish!


